
An in-depth look at Prototyping in Sketch
We take a dive into some of Sketch 49’s new features. Find out how everything you need to know to get started with Prototyping in Sketch.
Last week we released Sketch 49 and, with it, one of our biggest updates yet — the ability to turn your static Artboards into interactive prototypes, without ever leaving Sketch. Not only that but you can preview those prototypes in Sketch, test them with the Sketch Mirror app and share them on Sketch Cloud.
We know you’ve already been playing around with all the new features so we thought we’d take a closer look at how Prototyping works in Sketch, and show you how to make the most of it.
Getting started
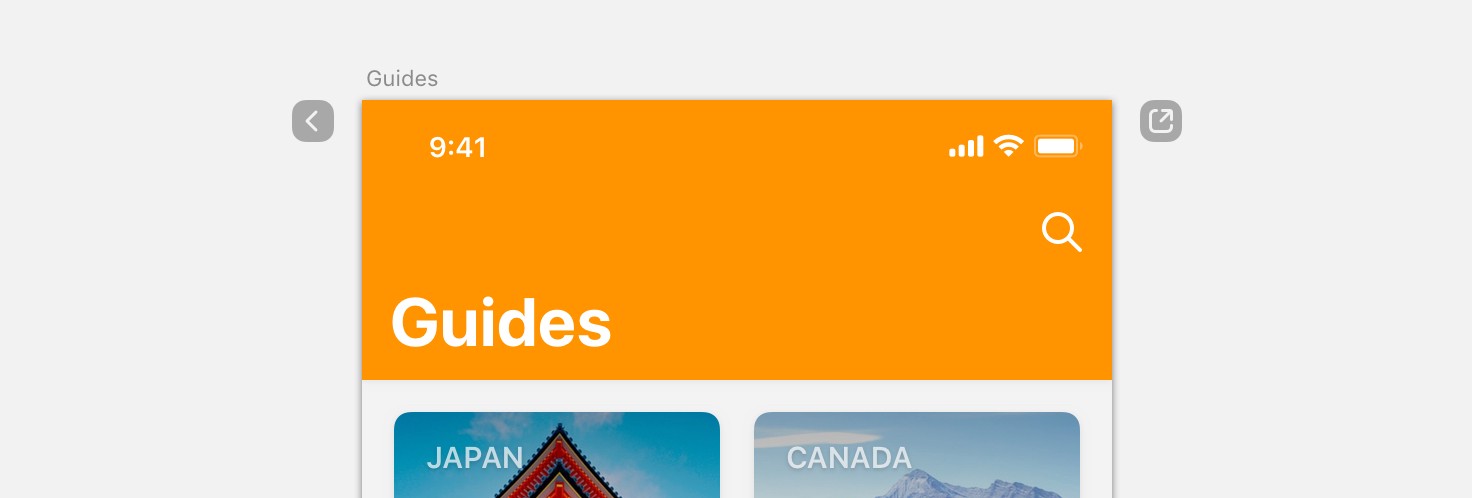
To start prototyping in Sketch you’re going to need some Artboards. You can’t create a Link or Hotspot without an Artboard in your Canvas so we recommend creating a couple of Artboards to kick things off.
This is a good time to point out that the size of your Artboards matters when it comes to Prototyping in Sketch.
If you’re using custom drawn Artboards in your document and you play back your prototype in Sketch, or elsewhere, you’ll probably notice that your Artboards appear zoomed out, fitting to the height of the viewport rather than scrolling the way you expect them to.
For Sketch to understand what ‘screen size’ you’re designing for, you must first select an Artboard preset or create a Custom Preset of your own.
To create an Artboard that scrolls when you preview a prototype, simply use a built-in or custom Artboard preset and change the height of the Artboard, once it’s on the Canvas.
Adding Links
The first step in creating your prototype is adding Links. A Link connects a layer, that you want to be able to click on, to the Artboard you want to transition to — also known as the Target.
Inside an Artboard, you can add a Link from any layer to any Artboard. To create a Link, just select a layer and click the Add icon next to “Prototyping” in the Inspector or press the W key.
An unplaced Link will follow your cursor as you move it around the Canvas and you’ll notice that hovering over an Artboard, highlights it. Click on a highlighted Artboard to set it as your Target.
When you Preview your prototype and click the linked layer in the Preview window, it will take you to its Target Artboard — simple!
Now that you’ve created a Link between a layer and an Artboard you can use the prototyping properties in the Inspector to choose one of five simple, animated Artboard transitions or change the Target.

Clicking on the Target dropdown menu in the Inspector will show a list of pages and Artboards to choose from. You can also set the Link’s Target to “Previous Artboard”. This function is super useful if you’re creating a prototype where a single Artboard can be accessed from multiple other Artboards, like a screen with a back button. In this case if you set the back button layer’s Target to “Previous Artboard”, clicking it will always take you back to the last Artboard you were looking at.
If your document contains a lot of Artboards, you can still set a Target, without having to scroll all over the Canvas. When you add a Link, two drop points will appear at the top left and right of your Artboard, one that lets you set the Target as “Previous Artboard” and the other allows you to access a menu containing all the pages and Artboards in your document.
You can remove a Link by setting its Target to “None” or by selecting the layer and choosing Prototyping › Remove Links from Selection from the menu.
Hotspots: what they are and when to use them
In some cases you might find adding a Link to a layer doesn’t give you the result you need. If you want the clickable area of a icon or menu item to be larger than the layer it’s inside, for example, a Link can’t do that, but a Hotspot can. Hotspots allow you to draw a tap target over any part of your design and link it to an Artboard.
You can add a Hotspot via the Insert menu, or press H on the keyboard to start drawing one. You can also convert a Link to a Hotspot by selecting a layer with a Link and clicking the “Create Hotspot” icon in the Inspector — handy if you’ve already connected up a bunch of Artboards but decide you need to change the hit area later.
Hotspots are really useful because they can be placed inside Symbols where their target destination can be overridden, allowing you to reuse a Symbol but change the Target destination each time — something that doesn’t work with Links. You can utilize this behavior to hide a Hotspot by choosing “None” under “Hotspot” in the overrides panel.
Preview your prototypes everywhere
Once you’ve created a prototype, the next step is previewing it to see if your flows work and your transitions make sense. You can preview your prototypes directly in Sketch, on Sketch Cloud — where you can share your prototypes with clients and colleagues — or on your iOS devices, using the Sketch Mirror app.
Preview in Sketch
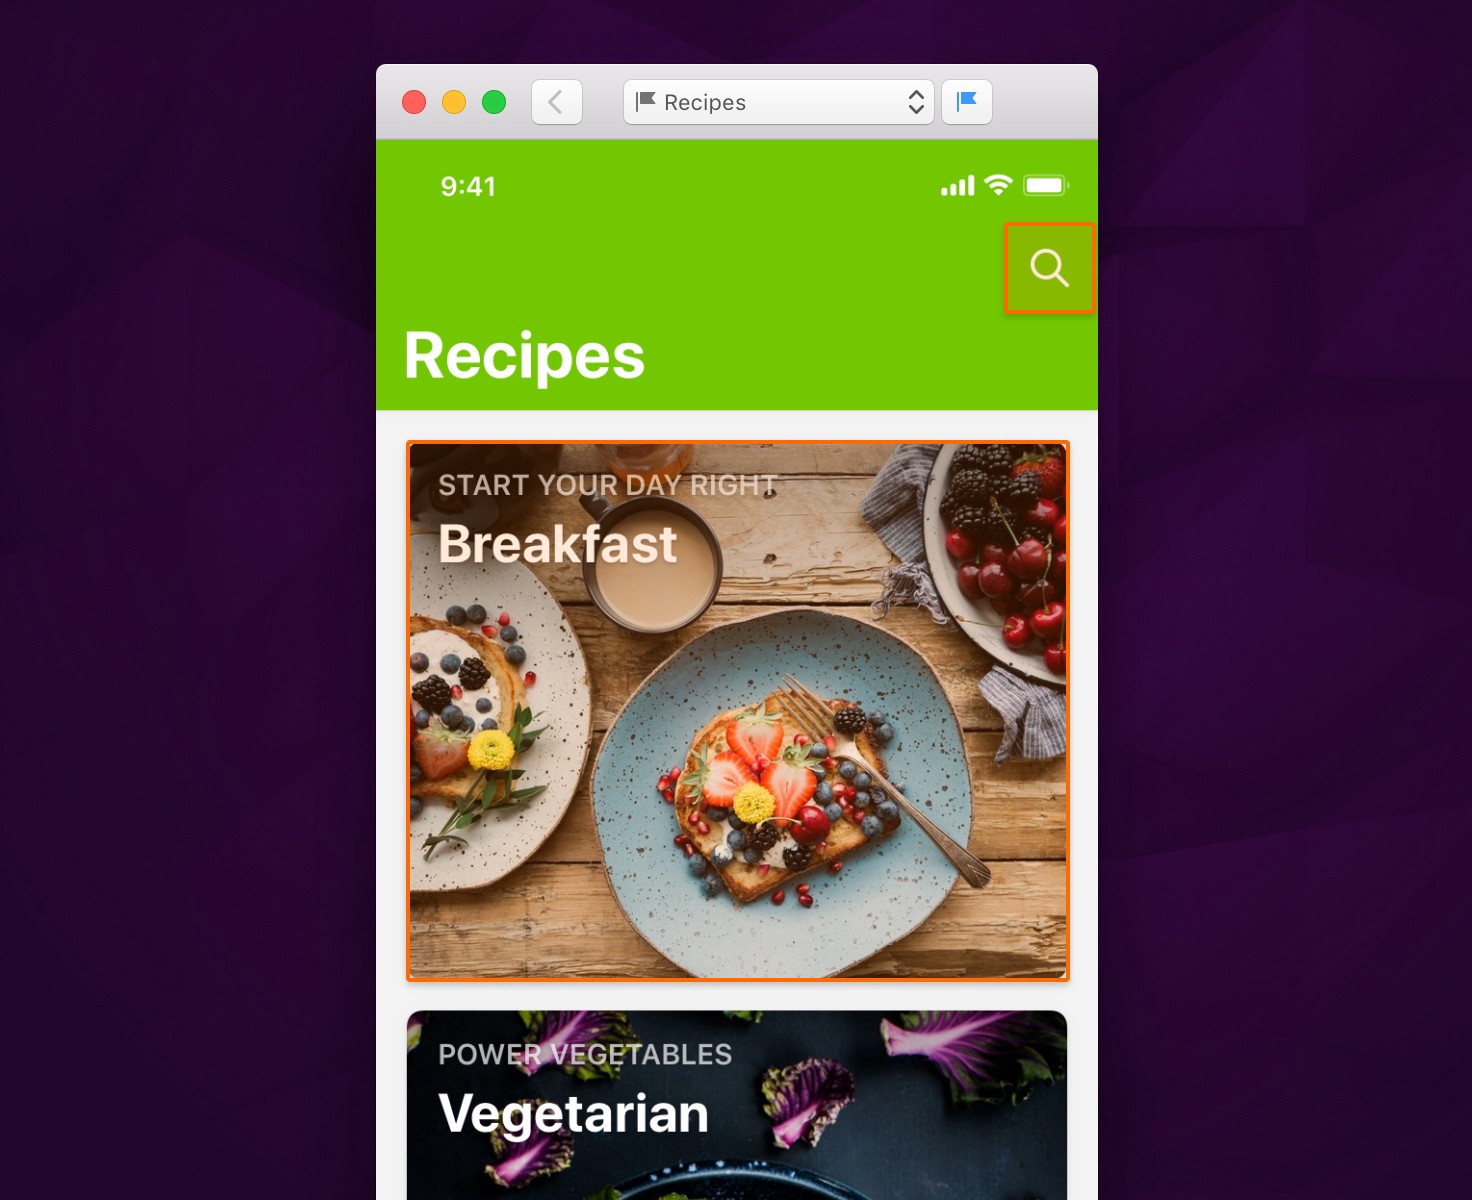
To play back your prototypes in Sketch, click the Preview button in the toolbar to open the Preview window. Your prototype will begin at the currently selected Artboard, unless you have set a Start Point.
Start Points are markers that let you specify which Artboard your prototype should start playing from. To set a Start Point, open the Preview window and click on the little flag icon next to an Artboard’s name. When an Artboard is marked as a Start Point, the icon will appear blue. When you click on the dropdown menu, any Artboards currently marked as Start Points will have the little flag icon next to their their name.
Clicking anywhere in the Preview window will reveal tap targets in any places you’ve added Links and Hotspot Layers. These tap targets show you that clicking that area will send you to a different Artboard.
At the top of the Preview window, you’ll see a back button that will take you to the previous Artboard and you can navigate to a specific Artboard by selecting it from the dropdown menu at the top of the window.
Share your prototypes on Sketch Cloud
As well as previewing in Sketch you can also share your prototypes on Sketch Cloud, where they can be viewed and played by anyone who has the link.
Uploading a prototype to Sketch Cloud is exactly the same as uploading any other Sketch document — just click on the Sketch Cloud icon in the toolbar and click “Upload Document”. If you’ve never used Sketch Cloud before and need more detailed instructions for uploading your documents, you can learn more here.
Just like any document on Sketch Cloud, you’re in control of who can see your Prototypes. You can invite clients or colleagues via email, share the link with your team or make the document public so anyone can see it.
Once uploaded, if you’ve defined any Start Points in your document then you’ll see a “Prototypes” section at the top of the document overview on Sketch Cloud.
Clicking on one of these Prototypes will start playback from the specified Start Point in the browser. Enabling comments on your document, will let viewers leave feedback on individual Artboards — perfect for collaborating with colleagues or getting comments from clients.
If you’re viewing a prototype in Sketch Cloud, you can navigate to the previous Artboard using the back button in your browser.
If you haven’t added any Start Points to your Prototype, you won’t see the Prototypes section in the document overview on Sketch Cloud, but you can still play your Prototypes in the browser. When you’re viewing any Artboard that’s part of a Prototype, just click the Play button in the top right of the toolbar to launch play back.
Test your iOS designs with Sketch Mirror
If you’re working on mobile interfaces, there’s no better way to test them than on the devices you’re designing them for. With Prototyping in Sketch you can connect to the Sketch Mirror app via Wi-Fi or USB and preview your prototypes on iOS devices.
To connect to Mirror, just open the Mirror app on your iOS device and click the notification in the top-right of Sketch’s window to confirm your connection.

Once you’re connected, you’ll see an overview of all your Artboards on your iOS device. When you tap to view one, you can interact with it by tapping on tap targets to transition to another Artboard. Swiping down on an Artboard will take you back to the overview.
Our top tips for Prototyping
- Customize your colors — not a fan of orange? You can change the color of your Links and Hotspot layers in the Canvas tab in Preferences.
- A cleaner Canvas — if you’re working on complex prototypes the Canvas can get pretty busy. You can show or hide Links and Hotspots by clicking on View › Show Prototyping in the menu or by pressing Control-F to toggle them on and off.
- All the Start Points — Usually you’ll want to set a Start Point at the beginning of a flow but setting multiple Start Points can be really useful. For example, if you’re building complex prototypes that contain many Artboards, or you only want someone to view a particular part of your prototype.
Speed up your workflow with Zeplin
Our friends over at Zeplin were incredibly quick off the mark, updating their app, the same day we released Sketch 49. With Zeplin’s new flows feature they’re harnessing the power of Prototyping in Sketch, to make hand off to developers even easier.
Now, when you add Links to your Sketch Artboards and import them to Zeplin, the Links will be clickable in Zeplin too, with no extra work required.
As well as that, when you’re looking at your designs in Zeplin, you can hold down the Shift key to reveal all the tap targets and click them to navigate between screens.
You can find out more about flows in Zeplin and their exciting future plans in their blog post.
More in Sketch 49
Haven’t updated to Sketch 49 yet? Alongside Prototyping, the latest update brings the official iOS 11 Apple UI Design Resource to Sketch, built in as a Shared Library. On top of that, the Symbols in this Library already have Hotspots built in so you can get started with prototyping right away. Find out more about this and all the new features in last week’s blog post.
We really love to see what you’re creating with Sketch so if you’ve made an awesome prototype, why not upload it to Sketch Cloud and send us the Link? If you have any questions or feedback about the new prototyping features, get in touch with us via our support page or join in the conversation on Twitter, or on our Facebook group.